IMPORTANT NOTE (2020-03-31): Hostinger cpanel’s UI has changed and this script is no longer working. I do not plan to update this script anymore.
30 June 2017
When something could be automated, it will be automated!
After successfully issuing SSL certificates via Let’s Encrypt at Hostinger shared hosting account (steps here), I need to manually install them at Hostinger’s cpanel.
The 2nd process here was quite tedious, especially when you had lots of subdomains. Basically, the process is as follows:

- Select your domain (or subdomain)
- Copy the certificate from your local file and paste it to CRT field
- Copy the private key from your local file and paste it to KEY field
- Hit submit
And repeat this four steps for each of your subdomains.
Even if you don’t have any subdomains, you will still need to face this process twice (for your www-domain and non-www-domain, e.g. kenrick9.org and www.kenrick9.org).
Since I created lots of subdomain and issued SSL certs to many of them, the process of installing the certs was so time-consuming and tedious. Then a thought occurred, can we automate that?
Since I had GreaseMonkey installed in Firefox, I wrote a userscript to automate this process. (I wrote it back in November 2016 I think) The script injects a UI element to automate the form-filling and submitting process until all certificates were installed. The UI part looks like this.
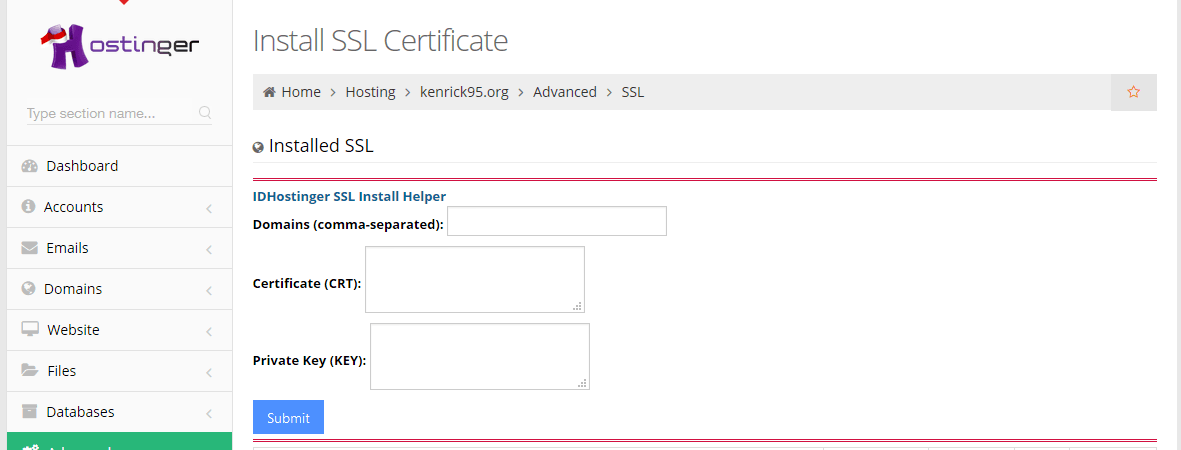 Now I could enter a list of domains (or subdomains) [comma-separated], paste in my certificate to CRT field, private key to KEY field, hit submit, and let the userscript does the tedious form-filling process for me.
You could use this userscript, but take note, it might need some modifications because I wrote it to only activates on Indonesian Hostinger cpanel.
The userscript could be accessed here: GitHub Gist.
How to use?
- Use Firefox and install GreaseMonkey
- Download the Gist
- Open the file in text editor
- Modification that might be needed: Change the highlighted part to your Hostinger cpanel domain. That’s it. This is because the userscript will only be activated when your browser visited URL that matches the URLs specified in “@include” of the userscript.

- Open the file in Firefox that has Greasemonkey; and install the userscript.
- Open your Hostinger’s cpanel, navigate to an option called “SSL” (under “Advanced”).
- If configuration was done properly, the automation UI shall shows up. If not, make sure step #4 was done properly.

Note that your certificate and private key will be retained in browser’s session storage while the form-filling process is running and will be deleted once the process is finished.
Hope this userscript might help you automate the tedious form-filling process. Feedback are welcomed!