Earlier this year, I’ve started to revamp the UI part of Nikku, a web-based BRSTM player that I built back in 2019. I started with doing mock up in Figma, and then implemented using Web Components. It took a few months and here are my journey.
Mock Up
I started the redesign by doing a mock up in Figma, playing around them first before coding it. This was so that I get a sense of what to achieve first before actually embarking into doing it (“begin with the end in mind”).

When did the mock up in Figma, I tried to follow the design process of a typical UI designer: come up with the components first, and then piece them up together. This means that I picked the colors for the application and drew the buttons and the states that the buttons have first before laid them up in the main screen.
As the main function of this player is to playback a music file, the play/pause button would be at the center of the application. Inspired by the UI of BBC Sounds Player, the playback progress bar itself is located above the control buttons.
One thing that I missed during the initial mock up was the “active tracks” control, which would only appear if the audio file contain >1 tracks.
Coding
Mock ups can be quite ambitious because when we draw them, I didn’t really think of implementation constraints. Only when I started coding, oh my, why did I make so much different components.
I decided to try implementing the components using Web Component, because:
- it’s the standard,
- there is no build step that I need to introduce, and
- I want to experience coding it.
I first encountered Web Components during regular sharing at work, and more recently, during my irregular contributions to Firefox’s code base, where I found out that a lot of the internal browser pages are coded using HTML, JS, CSS, and lots of Web Components in it.
Web Components itself is an umbrella term for 3 different concepts: Custom Elements, Shadow DOM, and HTML Templates. The most commonly talked about are the first two: Custom elements let you define your own HTML tag, and Shadow DOM defines the styling/DOM tree behavior of the custom element.
Data Flow
In this application, I implemented 6 different custom elements, where I try to make each of the custom element to be a pure UI component. The main idea is is so that the data flow one-way: a centralized data store, data is passed to the components, and each action of the component will trigger a data change in the central data store.
One annoyance that I get from writing custom element is that the attribute value (“props” in React world) can only be passed through using string, causing burden to keep transforming the types. The most annoying example: the “tracks” component. I need to pass an array of Boolean to the custom element, but because of the constraint, I have to transform the array of Boolean into string of 1s & 0s, and then parse it back to array of Boolean in the component implementation.
<controls-tracks count="4" active="0,1,0,1"></controls-tracks>Dispatch Action
Still related data flow, as each of the custom element is “isolated” from the main application, a new problem arise: how to pass data back to parent? In React world, one would a function as prop into a component, but custom element only accepts string as their attribute.
So one way to achieve is this is to make the custom element dispatch a Custom Event, and let the parent listen to this event.
For example, in the play-pause component:
this.dispatchEvent(
  new CustomEvent('playPauseClick', {
    detail: {
      mode: 'play',
    },
  })
);
and then somewhere else in the application:
playPauseComponent.addEventListener('playPauseClick', (e) => {
  // new mode is available at `e.detail.mode`
});
Luckily there is no constraint of the data type required when dispatching Custom Event.
Self-Closing Tag
Another thing I learnt from writing this application using custom element is that, custom element tags are not self-closing! Apparently, from this long GitHub issue, one of the main reason is that no browser vendors want to change their HTML parser logic.
This is good:
<controls-play-pause mode="play"></controls-play-pause>This is invalid, but browser will silently continue the parsing:
<controls-play-pause mode="play" />I found out that behavior while implementing the styles across the neighboring components and realized that in the browser inspector, the HTML tree is not as what I expected.
“Reactive”
While implementing the data flow process, as there are no framework that handles updating certain component when partial data has been modified, I have to implement this by myself. I want a value that can be listened to when the value changes. This is why I come up with a “Reactive” Value class, which is an Event Emitter that stores a value & dispatches “change” event to its listeners when the value changes.
let something = new Reactive(42);
something.on('change', (newValue) => console.log('change', newValue));
console.log(something.get()); // "42"
something.set(100);
// "change 100"
This pattern is useful for implementing the central data store, so that we’re notified of the value changes and therefore can update the custom elements’ attribute values.
As an example, this is how I use “Reactive” for “disabled” state:
const uiState = {
  // ...
  disabled: new Reactive(true),
};

uiState.disabled.on('change', (newDisabledValue) => {
  if (newDisabledValue) {
    // elProgressBar is <controls-progress />
    elProgressBar.setAttribute('disabled', '');
  } else {
    elProgressBar.removeAttribute('disabled');
  }
});

uiState.disabled.set(false);
// `elProgressBar` will have "disabled" attribute removed
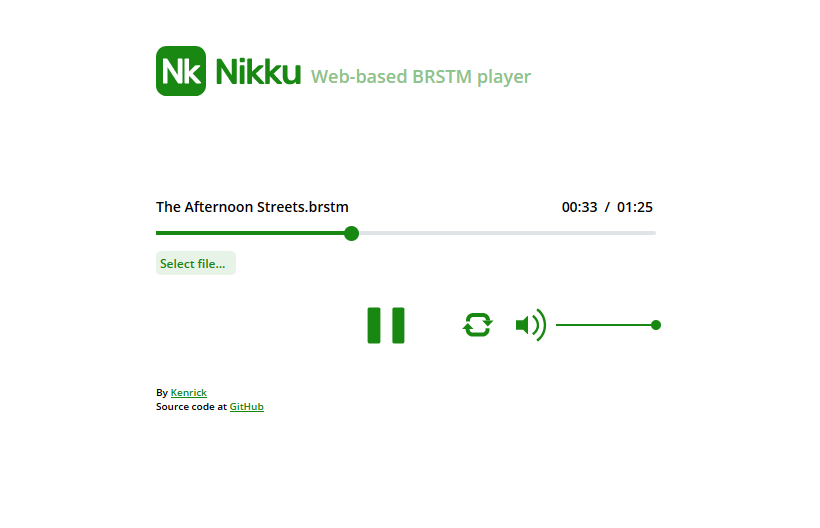
End Result
Well, it took a few months, as I took my sweet time to implement only when I’m in mood. I started the project back in January, paused, and then resumed in April. It was finally done in end May 2021!
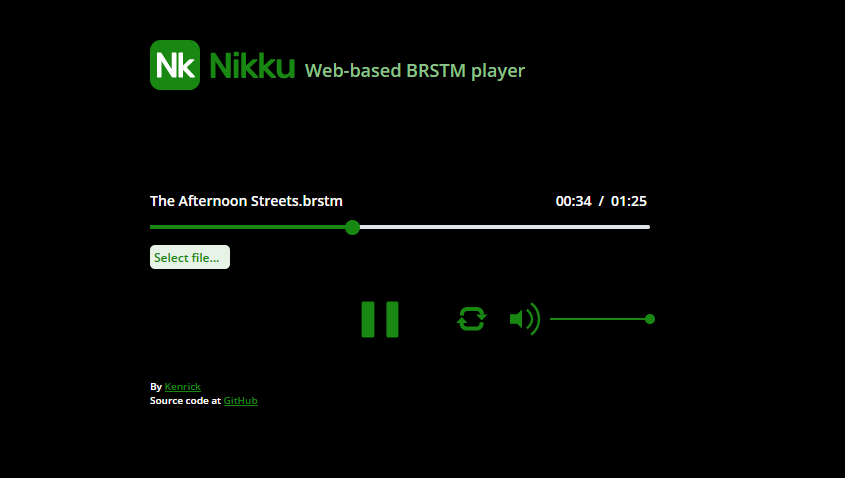
As an extra, I added dark mode support too.
Check out the application and the codes at the links below: